What You’ll Need For A Merch Store with WooCommerce:
What is a “Swag” or Merch Store?
A “swag” or merchandise store is a store where you can sell merch related to your brand. Do you have a podcast or influencer account that’s given you a following? Your followers may want more ways to support you or show off that they’re your fans. The natural answer is a merch store. The best way to create a merch store is online. It makes it easy for your followers to find your store and easy for you to maintain.
Building a Store with WooCommerce
If you’re a WordPress user, you can use the WooCommerce plugin to transform your site into a merch store. While it may sound like a complicated process, WooCommerce and WordPress make building a swag store simple. Plus, we’ll be going over the steps in this article so you won’t have to worry about tackling this by yourself.
To get started, though, you’ll need:
Once you have these things, you’ll be ready to begin building your online shop.
Entering the WordPress Admin Interface
Before you can create your WordPress merchandise store, you need to access the WordPress admin interface. This interface is where you’ll build, edit, and publish your site.
On your Managed WordPress hosting account, you can follow the tutorial below to access your WordPress admin interface.
- Log into the Account Control Center (ACC)
- In the left sidebar, click WordPress
- Click List Sites
- Find your site, then click Go to Admin Panel to the right of your desired site
This will take you to the admin login screen. Note that this login screen does not use the same credentials as the Account Control Center. Instead, it uses the credentials that were sent to the email used when the site was created.
Installing the WooCommerce Plugin
Now that you’ve reached the admin interface, you can add the WooCommerce plugin. The WooCommerce plugin is what will transform your WordPress site into a fully-functional merchandise site.
To add the WooCommerce plugin, follow these steps:
- In your WordPress admin interface, click Plugins in the left sidebar
- Next to the “Plugins” header, click the Add New button
- In the search bar, enter “WooCommerce”
- In the WooCommerce plugin block, click Install Now, then click Activate
This adds the WooCommerce plugin to your WordPress site.
Getting Your Store Set Up
Now that WooCommerce is installed, it will ask you to complete a few basic steps. These steps will set the foundation for the rest of your merch site!
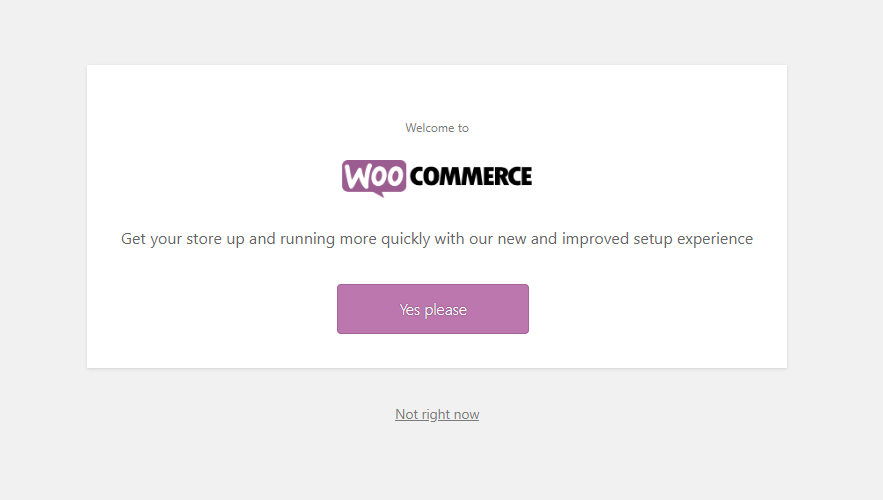
When the plugin is activated, it should automatically redirect you to the Welcome to WooCommerce setup screen. To start the setup process, click Yes Please.
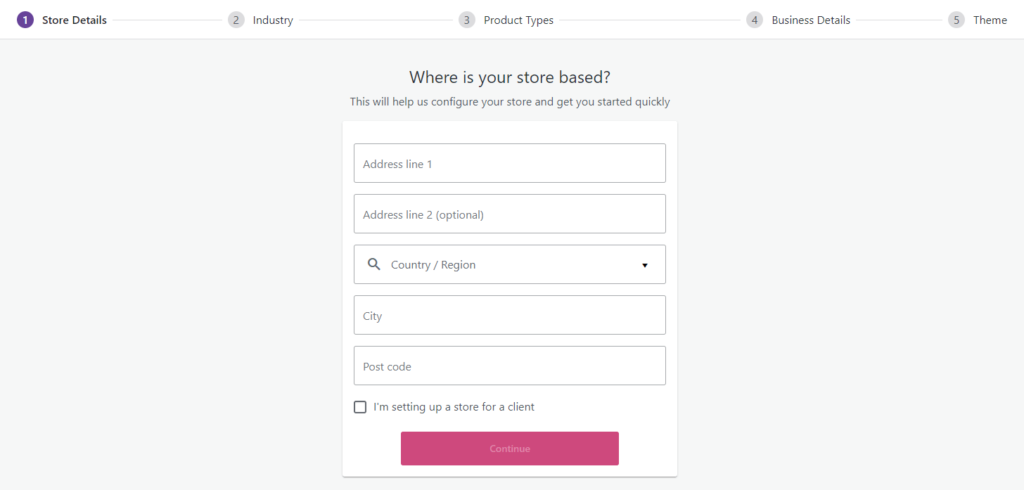
Store Details
The next page will ask you for your business address. Even if your store is 100% virtual, you still need to add a business address. Having one allows customers to return products to you and it helps give your business credibility. Otherwise, your customers may be suspicious if your business doesn’t have a physical address.
Run your business from your home, but don’t want to use your home address? There are options for you, too! Check out this blog for more information: How to Get a Business Address for Your At-Home or E-Commerce Business.
When you’ve finished adding your business address, click Continue.
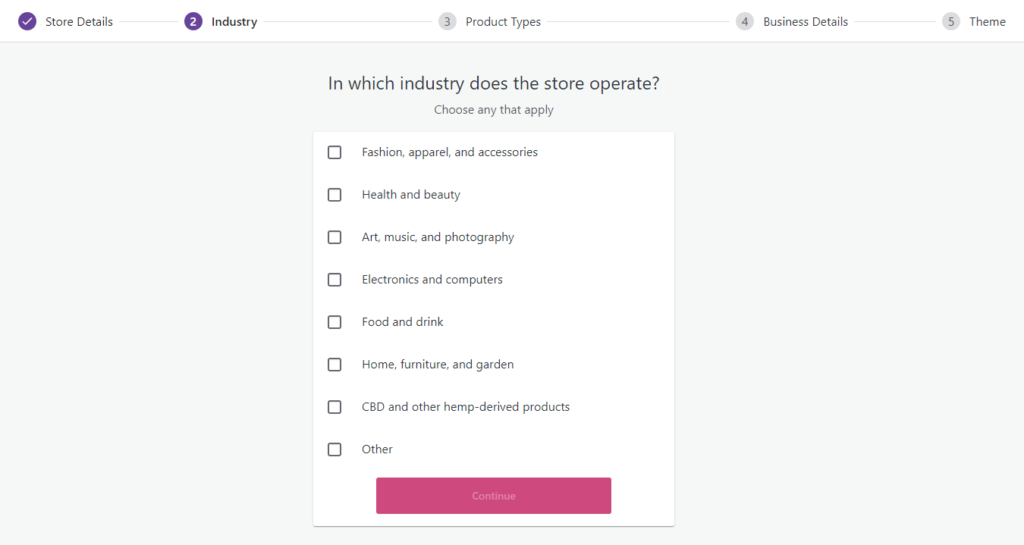
Industry
The next page will ask you to choose what industry your merch store falls into. You can select multiple categories or select, “Other” and enter your own description.
Click the Continue button to move on to the next section.
Product Types
This page will ask you what type of products you are planning to offer. The type of products you choose may influence the checkout process, so it’s important to choose the most accurate description.
If you plan to offer different types of products, you can select more than one type on this screen.

Some product types, like memberships or subscriptions, may require you to pay an additional fee to WooCommerce.
When finished, click the Continue button.
Business Details
You’re almost finished with the initial steps! The next page will just ask you a few business details, like how many products you want to display and if you’re planning to sell the products anywhere else.

It will also show you a few helpful integrations that can be installed. If you don’t want the integration installed, make sure that the integration is toggled off.
When finished, click the Continue button.
Theme
Now you need to select a theme. A WordPress theme is another word for a site design. WooCommerce gives you access to many e-commerce themes that will work well for a merch site. All you need to do is scroll through the options and find one you like.
There are both paid and free themes, so you can choose the option that works best for you!
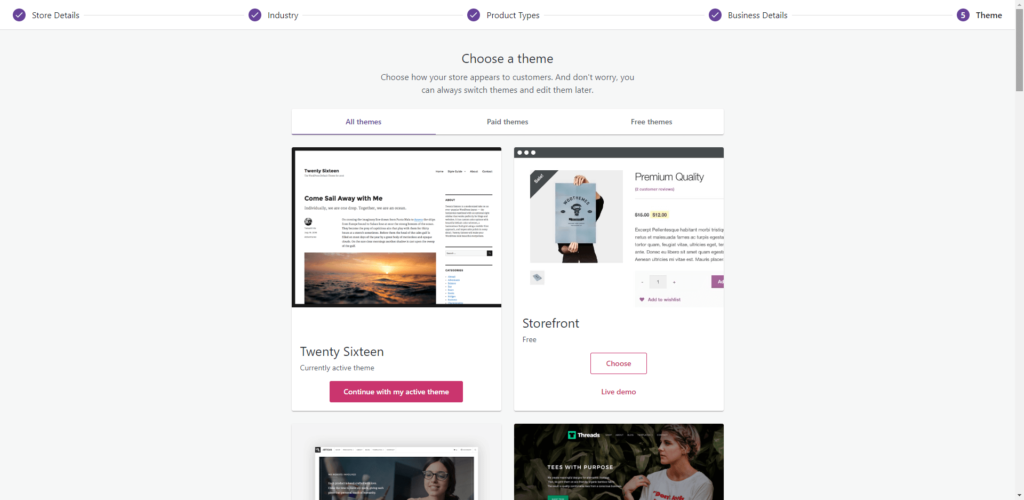
When you have found a theme you like, you can click Choose to install and activate the theme.
Adding Products to Your Merch Store
Now that the basic steps are complete, you have a strong base for your merchandise store. But no merchandise store is complete without products.
So the last step is to add products to your site. You can do this by going back to your WordPress admin interface and finding the Products tab in the left sidebar. Click on this tab to be taken to the Products page.
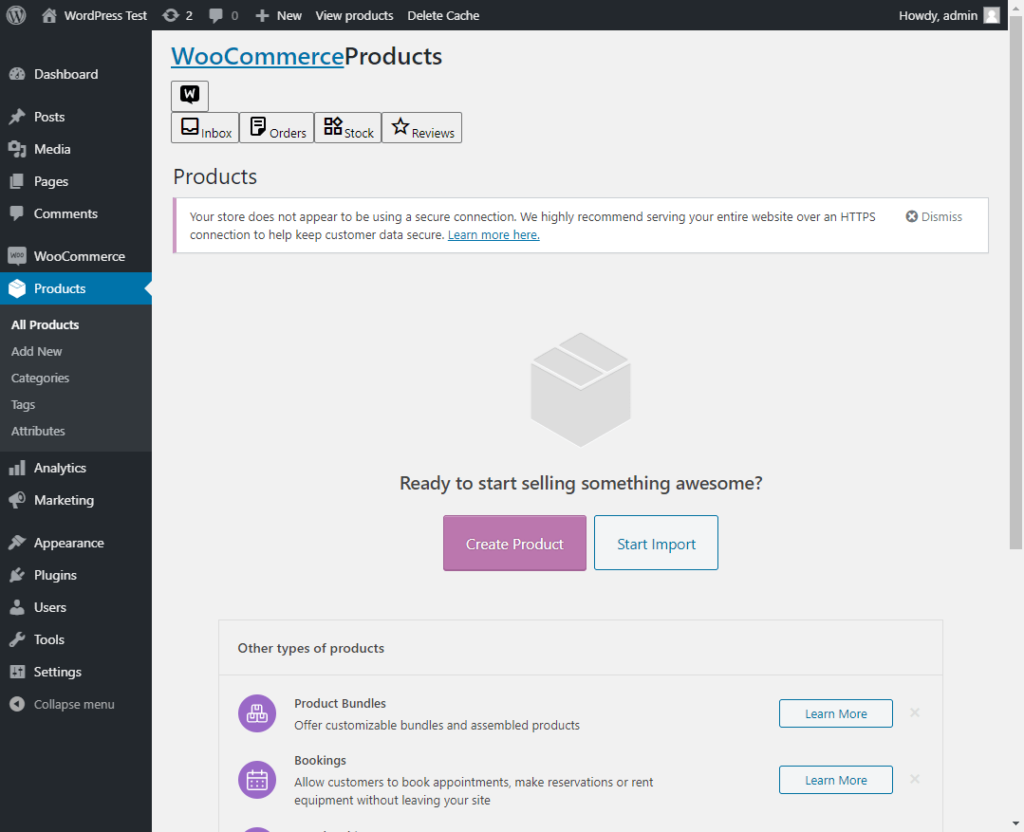
From there, click the Create Product button to start the process of adding your first product! The Add New Product interface is similar to the post/page editor interface in that you can use blocks to create a page for your product.

When you’ve finished creating your product page, be sure to fill in the product data sections.

When you’re satisfied with your product, you can click the Publish button to send it to your site. You can repeat this process for each of your products.
Publishing Your Merch Store
Now that you’ve created the store foundation and added products, it’s time to make sure everything is in its correct place. You can preview your site by going to the left sidebar and hovering over Appearance, then clicking Customize in the drop-down.
This will show you what your site looks like and allows you to change certain things from the sidebar. When finished, click the Publish button at the top of the left sidebar. This will publish your website on the web.
If you need any help on the web hosting side, don’t hesitate to reach out to our 24/7 support team. They’ll be happy to help with any hosting questions you may have.