What You’ll Need:
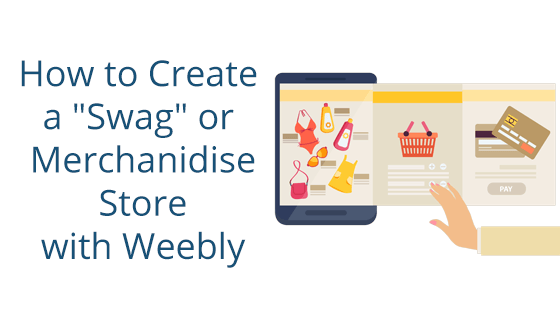
What is a “Swag” or Merchandise Store?
If you’re reading this post, you’re likely familiar with a “Swag” store. It’s a shop that furthers your brand by selling exclusive brand merchandise. This can be anything from branded clothing to virtual memberships.
“Swag” or merchandise shops are a great way to further your podcast, influencer account, etc. They not only give your followers a way to further support you, but some of the usual swag items will do advertising for you. So people are paying you so that they can wear or own something that may bring more people in to check out your business.
So there’s really no downside when creating a swag shop, minus the work you have to put into it. However, we’ve made the first step super simple with our Weebly packages. You can check them out here.
Weebly makes building a merchandise store (and any other store, too) very straightforward. With its drag and drop site builder and beginner-friendly store interface, the process is a breeze for those at any technical level. We’ll be going through the basics of creating a merchandise store below, so you’ll see exactly how easy the process is.
Building a Store with Weebly
The first thing you’ll need before creating a Weebly swag store is one of our Shared Hosting packages. It comes with everything you need to start your first shop.
Once you have that, you’re ready to start the Weebly building process.
Entering the Weebly Site Editor
First things first: you need to enter your Weebly site builder. For this, you’ll need to log into your Shared Hosting account and go to the left sidebar. There you will see a tab called “Add Ons.” Click this, then click “Weebly Site Builder” in the drop-down.
On the next page, you’ll see a list of all your Weebly sites. Click on your shop’s site. Then, on the next page, click the “Edit Weebly Site” button.
This will take you to your Weebly site editor. Now you’re ready to dive into site creation!
Choose a Theme
Weebly themes are site templates you can use to jumpstart your site’s design and layout. You’ll need to choose one before you can access the site and store editor interfaces. You can click on each theme and view a preview before making your decision.
We recommend picking a theme designed for an online shop. You can differentiate these themes from the others by viewing their preview and looking for a dedicated product space. Themes designed with online shopping in mind always have a space specifically for their products.
If you can’t find a suitable theme, there’s a button at the bottom of the selection that you can click to show you more options.
Designing Your Store
Now that you’ve chosen a site theme, it’s time to dive into creating your store. You can access Weebly’s store builder by going to its top navigation bar and clicking the “Store” tab. This will open the Store interface.
When you first access the Store editor, there will be a list of items to complete. You can think of this as your store building checklist. Once you complete all of these, you’ll be ready to launch your site! Each checklist item has a button you can click to take you to the
So what are these checklist items? We’ll go through and briefly explain each so you’re prepared.
Store Information
This checklist item will ask you to fill in basic store information, like your business address and product layout, and more. Keep in mind that the business address will be displayed on customer receipts. So if you don’t have a dedicated business address, you can get a P.O.box and use that address. This will make you look more professional and keep your personal information safe.
Adding an Item
This is the step where you can add in your swag! You’ll need to repeat this step for each type of merchandise you plan to list. You’ll be able to customize every aspect of your product listing, from image, item type, name, description, and more!
If your product is virtual, you can set it apart by choosing a different option under “Item Type.”
Start Accepting Payments
You’re not giving your merch away for free, so it’s pivotal that you set up a payment processor. Weebly has three default options you can choose from:
- Square
- Stripe
- PayPal
The set up is very simple. All you need to do is choose a payment processor, go sign up for an account over at their website, then come back to Weebly and click “Connect” next to the processor you’ve chosen. You’ll then be asked to sign in to your account with the payment processor. Once you have, you’ll be able to accept payments!
Set Up Shipping
Setting up shipping rules is important, even if your offering is digital-only. For physical products, you can use this interface to define your shopping rates and where you’ll ship to. For digital products, you can specify whether or not your digital downloads are available worldwide or should be constrained to your other shipping rules.
Set Up Taxes
The last thing on your checklist is taxes. Setting up taxes is an important step for any online shop. Online shops are still a form of business, so the government will require taxes from your sales. Making sure your taxes are ironed out in the beginning will save you from getting into trouble later.
Taxes are dependent on your local and federal laws, so be sure to do your research before setting your tax rates.
Publish Your Site
Once you’ve finished these steps, your site is ready to launch! Get ready to enjoy the benefits that come with an online shop. Not only can this make your followers happy and help your brand grow, but it can also line your pockets with a nice profit.
If you need any help during the store setup process or just have a few questions, please contact our 24/7 support team. They’ll be happy to help you create the merch store that will impress your following.